Jump to
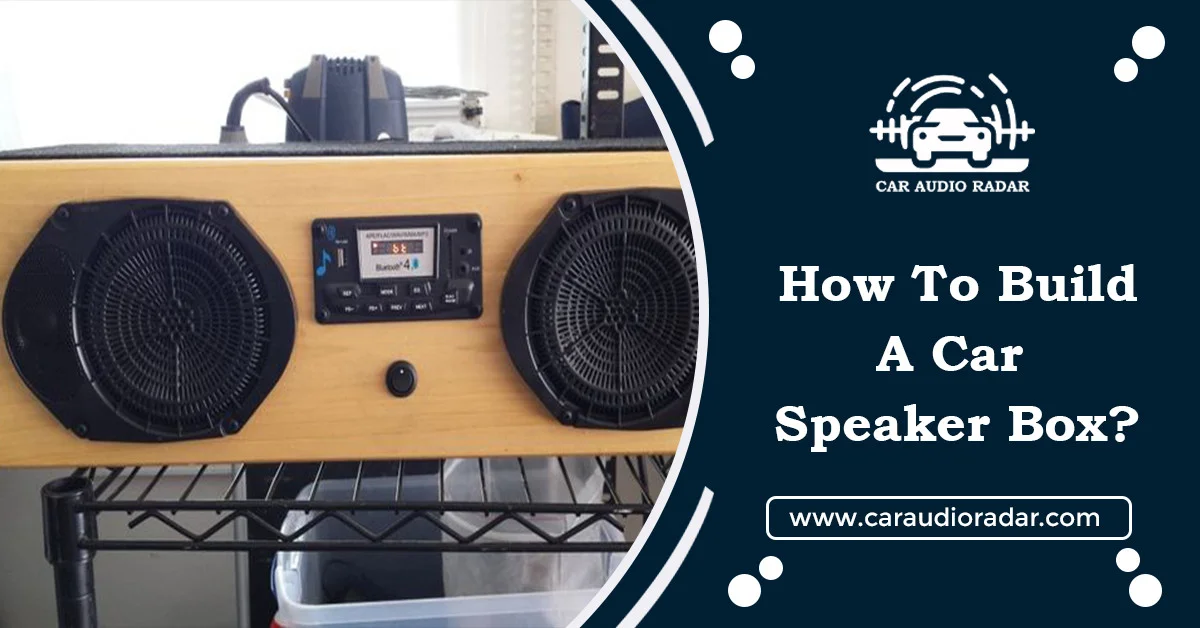
How do you Build a speaker box for car in 2025?
How to Build A Speaker Box for Car? Is build a car speaker box i easy? What should I need for making car speaker box? Are you tired of the dull sound quality in your car? Want to take your audio experience to the next level?
Look no further! This DIY guide will show you how to build a custom Speaker Box for Car in 2025. With a bit of time and effort, you’ll be able to enjoy crystal-clear sound and booming bass on your daily drives. So, let’s dive in and prepare to transform your car’s audio system!
What is a Speaker Box?
An enclosure, sometimes called a speaker box, is a specially-made housing for the speaker parts of an automobile audio system. It is crucial to optimize the sound quality and enhance the speakers’ performance.
The speaker box is typically made of wood or other materials that are acoustically favorable. Its purpose is to give the speakers a controlled environment. The box’s size, shape, and construction are carefully considered to match the specific characteristics of the speakers being used.
The primary purpose of the speaker box is to prevent sound waves from canceling each other out and to direct the sound waves in a specific direction. It helps improve bass response, reduce distortion, and enhance overall quality.
There are different types of speaker boxes, such as sealed enclosures, ported enclosures, and bandpass enclosures. Each type has its characteristics and is suited to other audio setups and preferences.
When building a speaker box, it’s essential to consider the speakers’ size, the car’s available space, and personal preferences for sound quality and performance. Proper construction techniques, such as bracing and insulation, can further improve the performance of the speaker box.
Overall, a well-designed and adequately constructed speaker box can significantly enhance the audio experience in a car audio system, delivering robust and high-quality sound reproduction.
Speaker Box- Why Do You Need It?
Here are some detailed bullet points explaining why you need a speaker box:
Sound Quality:
A speaker box helps to optimize the sound quality of your car’s audio system. It provides a controlled environment for the speakers, reducing unwanted vibrations and resonance that can negatively impact sound reproduction.
Bass Response:
A well-designed speaker box can enhance the bass response of your speakers. It helps to contain and reinforce low-frequency sounds, resulting in deeper, more impactful bass notes.
Directional Sound:
Speaker boxes help to direct the sound waves in a specific direction. This ensures that the audio is focused on the listeners and dispersed appropriately, improving the overall listening experience.
Reduced Distortion:
By providing a proper enclosure for the speakers, a speaker box helps reduce distortion. It minimizes the interaction between the speaker’s front and rear sound waves, resulting in cleaner and more accurate sound reproduction.
Power Efficiency:
Speaker boxes can improve the power efficiency of your audio system. Providing a controlled environment allows the speakers to work more efficiently, requiring less power to produce the same volume level.
Protection:
Speaker boxes offer protection to the speakers themselves. They shield the speakers from external elements like dust, moisture, and physical damage, prolonging their lifespan and ensuring consistent performance.
Customization:
Speaker boxes can be customized to fit your car’s and speakers’ specific dimensions. This helps maximize the available space and ensure an optimal fit, which can further enhance the performance of your audio system.
A speaker box is essential for achieving optimal sound quality, enhancing bass response, reducing distortion, and protecting your speakers. It is crucial in creating an immersive and enjoyable audio experience in your car.
Best Material for Build A Speaker Box for Car
The best material to build a speaker box depends on various factors, such as the type of speaker, desired sound characteristics, and personal preferences. However, some commonly used materials for speaker box construction include:
Medium Density Fiberboard (MDF):
MDF is a popular choice for speaker boxes due to its density, stability, and affordability. It is easy to work with and provides good acoustic properties, producing clean and accurate sound reproduction.
Plywood:
Plywood is another common material used for speaker boxes. It is strong, durable, and offers good acoustic qualities. Plywood can be more expensive than MDF but provides a natural and warm sound.
High-Density Fiberboard (HDF):
HDF is a denser and more rigid version of MDF. It offers improved acoustic performance and is often used for high-end speaker enclosures. However, it can be more challenging to work with and may require specialized tools.
Solid Wood:
Some audiophiles prefer solid wood for its aesthetic appeal and unique sound characteristics. Various wood species, including oak, birch, or cherry, might influence the sound’s tonality. However, solid wood can be more expensive and require additional reinforcement to control vibrations.
It’s important to note that the design and construction of the speaker box, including internal bracing and proper sealing, are just as crucial as the choice of material. The goal is to create a sturdy, well-designed enclosure that minimizes resonance and provides optimal sound performance.
Fiberglass
Fiberglass is a versatile material that is commonly used in speaker box construction. It is made up of tiny glass fiber strands that are placed in a resin matrix. Fiberglass can be an excellent choice for speaker box construction due to its strength, durability, customization options, and resonance control.
However, it’s important to note that working with fiberglass can be more complex than using traditional materials like MDF or plywood. If you’re considering using fiberglass, consulting with experienced individuals or resources may be helpful to ensure proper construction techniques and achieve the desired results.
What Kinds of Speaker Enclosures Are There?
There are different types of speaker enclosures that you can use, each with its characteristics. Let me explain them to you:
Infinite Baffle/Free-Air:
This type of enclosure uses the space behind the speaker as the enclosure. It requires airtight sealing and relies on the car’s trunk or the room’s wall as the enclosure. It can produce accurate and tight bass but requires ample space.
Sealed/closed enclosure:
This type of enclosure is airtight and doesn’t have any ports. It provides a precise and controlled bass response but requires more power to produce deep bass than other types.
Ported/vented enclosure:
This type of enclosure has a port or vent that allows air to escape, enhancing the bass output. It provides more efficient bass and can produce deeper tones than sealed enclosures. However, it requires careful tuning to prevent distortion.
Bandpass enclosure:
This type of enclosure is a combination of sealed and ported enclosures. It has two chambers, one filled and one ported, which work together to produce a specific range of frequencies. Bandpass enclosures can provide a lot of bass, but they are more complex to design and tune.
Materials Needed
Here is the list of materials that are used:
Screws or nails:
These will be used to secure the panels of the speaker box together.
Speaker terminals:
These connectors allow you to connect the speaker wire to the speaker box.
Speaker wire:
This is used to connect the speaker to an audio source.
Insulation material:
This helps reduce vibrations and improve sound quality within the speaker box.
Tools:
You’ll need a saw to cut the panels, a drill to make holes, and a screwdriver or hammer to assemble the box.
Now, let’s talk about the cost and time involved:
Cost for Materials:
The cost for materials can vary depending on the speaker box size, the quality of materials you choose, and where you purchase them from. You can spend around $50 to $100 on the necessary materials.
Time Spent:
The time it takes to build a speaker box can vary depending on your experience, the complexity of the design, and the tools you have available. Generally, it can take a few hours to a full day to complete the construction and assembly of the speaker box.
Remember that these are only estimations, and the cost and time may differ. Planning and gathering all the necessary resources before beginning any project is a good idea.
Step-by-Step Instructions for Building the Subwoofer Box
I can give you a general step-by-step guide for building a subwoofer box. Remember that the dimensions and construction techniques may vary depending on your subwoofer and personal preferences. Here’s a basic outline:
1. Determine the Subwoofer Specifications:
Start by gathering the specifications of your subwoofer, including the recommended enclosure volume and type (sealed, ported, etc.). This information will help you design the box accordingly.
2. Choose the Box Type:
Based on the subwoofer specifications, decide whether you want a sealed, ported, or another type of enclosure. Each type has different characteristics, so choose the one that suits your preferences and the subwoofer’s requirements.
3. Calculate the Box Dimensions:
Use an online box calculator or software specifically designed for subwoofer box design to calculate the internal dimensions of the box. Input the subwoofer’s specifications and desired box type to get the recommended dimensions.
Measure the dimensions of each side of the enclosure and cut the carpet accordingly, leaving some extra for overlap.
Here are some tips for connecting a Bluetooth speaker to your car stereo:
4. Gather Materials:
Once you have the dimensions, gather the necessary materials, including medium-density fiberboard (MDF) or plywood, screws or nails, wood glue, silicone caulk, and speaker terminal cups.
5. Measure and Cut the Panels:
Measure and mark the dimensions on the MDF or plywood panels. Use a circular, jigsaw, or table saw to cut the panels according to your measurements.
6. Assemble the Box:
Join the panels together by gluing the edges of the panels together. To fasten the panels in place, use screws or nails. Verify if the box is well-made and robust.
7. Add Internal Bracing (Optional):
You can add internal bracing to enhance the box’s strength and reduce vibrations. Cut additional pieces of MDF or plywood and attach them inside the box using wood glue and screws.
8. Install Speaker Terminal:
Cut a hole in one of the panels for the speaker terminal cup. Install the terminal cup according to the manufacturer’s instructions.
9. Seal the Box:
Apply silicone caulk along the internal seams and joints to ensure an airtight seal. This helps prevent air leaks and ensures optimal performance.
10. Test and Install the Subwoofer:
Before finalizing the box, test the subwoofer’s performance by temporarily placing it inside. Adjust the box or subwoofer placement to achieve the desired sound.
11. Finish the Box (Optional):
You can paint or finish the box to match your aesthetic preferences if desired.
12. Secure the Subwoofer:
Once you’re satisfied with the sound and fit, secure the subwoofer inside the box using screws or brackets. Make sure it’s firmly in place to prevent any movement.
13. Connect the Wires:
Attach the speaker wires from the subwoofer to the speaker terminals on the terminal cup. Ensure a secure connection for optimal performance.
14. Test and Adjust:
Connect the subwoofer to an amplifier or receiver and play music or test tones. Adjust the settings on your audio system to fine-tune the subwoofer’s output and achieve the desired bass response.
15. Enjoy the Bass:
With the subwoofer box adequately built and installed, sit back, relax, and enjoy the deep and powerful bass that your subwoofer delivers!
Remember, these instructions are general guidelines, so make sure to refer to the specific recommendations and instructions provided by the manufacturer of your subwoofer for the best results. Have fun building your subwoofer box!
How to Carpet Enclosures?
Carpeting enclosures can be a great way to give them a polished and professional look. Here are the steps to carpet enclosures:
1. Gather materials:
You’ll need a carpet designed explicitly for speaker enclosures, adhesive spray, a utility knife, and a roller.
2. Prepare the enclosure:
Clean the surface of the enclosure to ensure it’s free of dust and debris. This will help the adhesive stick better.
3. Measure and cut the carpet:
Measure the dimensions of each side of the enclosure and cut the carpet accordingly, leaving some extra for overlap.
4. Apply adhesive spray:
Spray a thin and even layer of adhesive spray on the surface of the enclosure where you’ll be attaching the carpet.
5. Apply the carpet:
Carefully place the cut carpet onto the sprayed surface, making sure it’s aligned properly. Start from one side and press down firmly, smoothing out any wrinkles or bubbles as you go.
6. Trim excess carpet:
Trim any extra carpet with a utility knife to ensure tidy and clean edges.
7. Repeat for other sides:
Repeat the process for all the remaining enclosure sides, applying adhesive spray and carpeting each side individually.
8. Secure with a roller:
Use a roller to press down on the carpet firmly, ensuring a solid bond between the adhesive and the enclosure. You’ve carpeted your enclosure. Following the manufacturer’s instructions for the adhesive spray and carpet ensures the best results. Let me know if you have any other questions or need further assistance!
Conclusion
Congratulations! You Build A Speaker Box for Car in 2025. Now, you can enjoy a high-quality audio experience during your daily drives. Remember to take your time during construction and pay attention to detail. With a little effort and creativity, you can transform your car’s audio system and rock out to your favorite tunes on the road!
Frequently asked Questions (FAQs)
What is the best material to build a speaker box?
The best material for a speaker box is typically a medium-density fiberboard (MDF) because it’s strong, dense, and helps reduce unwanted vibrations.
Is it cheaper to build your speakers?
Building your speakers can be cheaper than buying pre-made ones, especially if you have the necessary skills and tools. It can also be a rewarding and enjoyable do-it-yourself project!
Do car speakers sound better in a box?
Yes, car speakers generally sound better when installed in a properly designed and constructed speaker box. The box helps control the speaker’s movement and enhances sound quality.
What is the best material to put inside a subwoofer box?
When lining the inside of a subwoofer box, materials like polyfill or acoustic foam can be used. These materials help reduce internal reflections and improve bass response.
Is it worth it to DIY a speaker box?
Absolutely! DIY speaker boxes can be a great way to customize your sound system, save money, and have fun. You’ll also feel accomplished knowing that you constructed it yourself!
Which is better, a ported or sealed speaker box?
The choice between a ported or sealed speaker box depends on your preferences. Sealed boxes provide tighter and more controlled bass, while ported boxes can deliver louder and deeper bass.
Is a bandpass better than a ported box?
Bandpass boxes can provide even more focused and powerful bass than ported boxes, but they can be more complex to design and build. In the end, it comes down to your personal preferences and demands.
How long does it take to build a speaker box?
The time it takes to build a speaker box can vary depending on the complexity of the design and your experience level. It can range from a few hours to a couple of days.
Is it hard to build a speaker box?
Building a speaker box can be challenging if you’re new to it, but with proper research, planning, and the right tools, it’s doable. Start with simpler designs and gradually work your way up!
How much does it cost to build a speaker box?
A speaker box’s construction costs can change based on its dimensions, the materials chosen, and any extra parts needed. It may be in the neighborhood of $50 to several hundred dollars.
How thick should plywood be for a speaker box?
Plywood thickness for a speaker box depends on the design and size, but the commonly used thickness is around 3/4 inch.
What kind of plywood do you use for a speaker box?
The plywood used for a speaker box is typically birch plywood due to its strength and durability.
What are the benefits of building a speaker box?
The benefits of building a speaker box include customization, cost savings, and the satisfaction of a DIY project.
Is a giant speaker box better?
A larger speaker box can provide a better bass response depending on the specific speaker and design.
What type of wood is best to build a speaker box?
The best type of wood to build a speaker box is often a medium-density fiberboard (MDF) due to its density and vibration resistance.
Cooper Katzeel

Cooper Katzel
Car Enthusiast
Cooper Katzel, a dedicated car enthusiast, delves into the world of automobiles and audio systems. With a deep interest in cars and a focus on superior sound, Cooper’s expertise traverses the spectrum. His journey is a delightful exploration of automotive wonders and the world of car speakers. Cooper’s passion and technical know-how make him a trusted advisor for car enthusiasts.
Follow On Instagram
Please reauthorize instagram
Recent Posts
- All Post
- Blog
- Car Speaker
- Car Subwoofer
- Pro Tips & Guides
- Back
- Speaker Wire
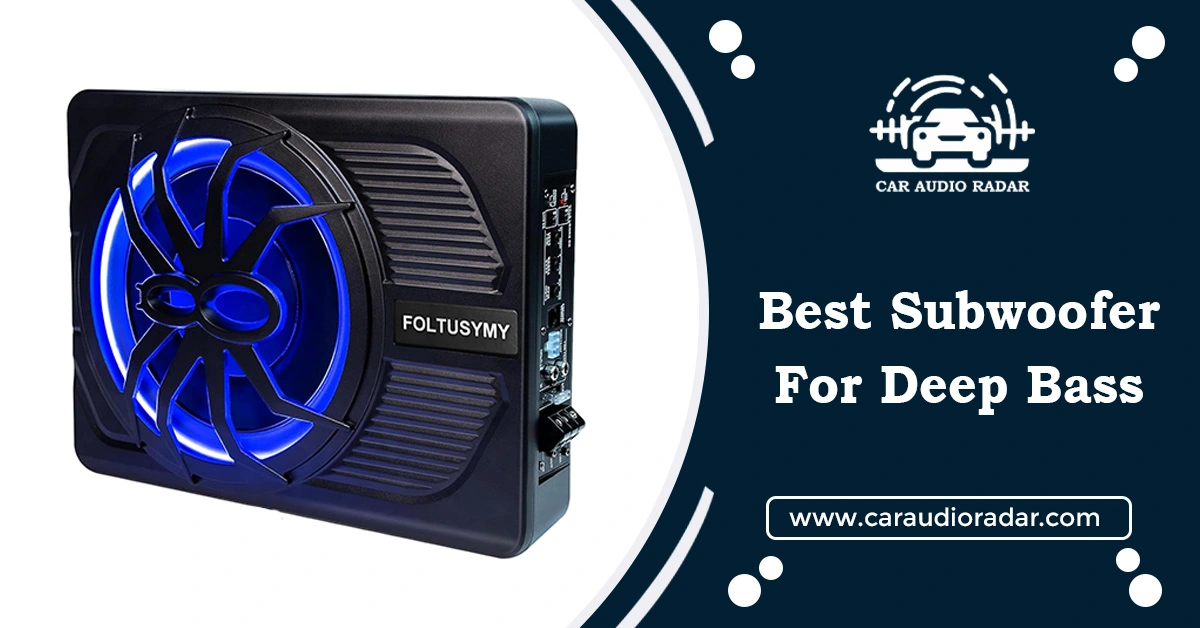
Best Subwoofer for Deep Bass: Top Picks & Reviews
January 1, 2025

How to Make Your Car Speaker Louder: Proven Tips
October 25, 2024
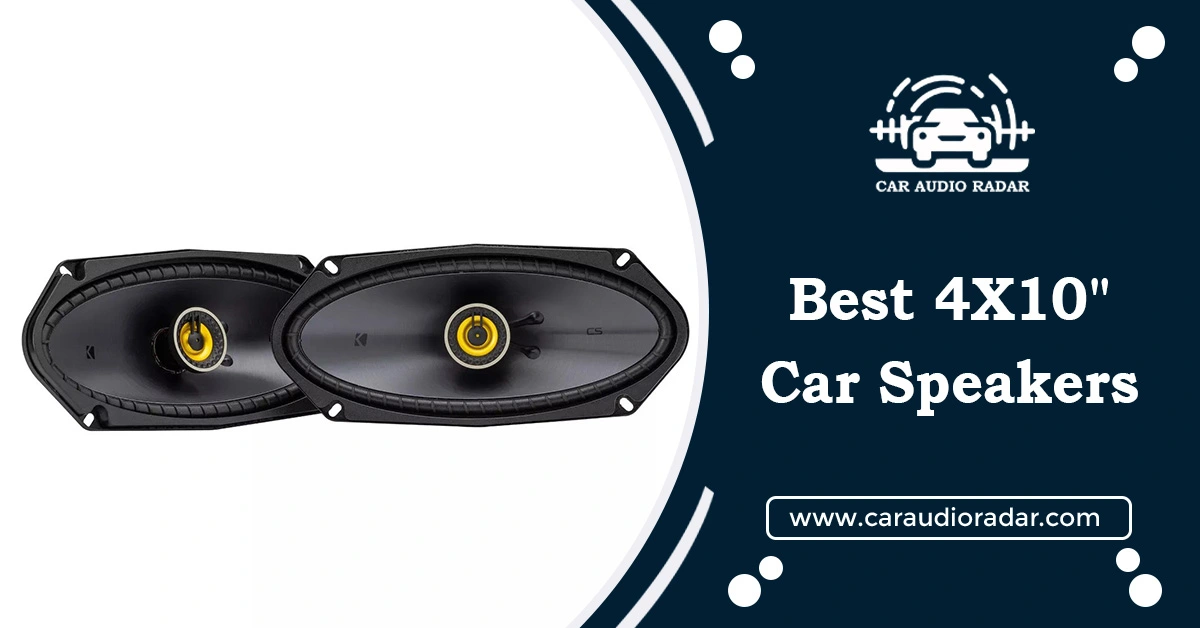
Ultimate Guide for Selecting Best 4″x10″ Car Speakers
October 1, 2024
Dream Life in Paris
Questions explained agreeable preferred strangers too him her son. Set put shyness offices his females him distant.
Subscribe to our newsletter
Don’t miss new updates on your email
Categories
Tags
Edit Template